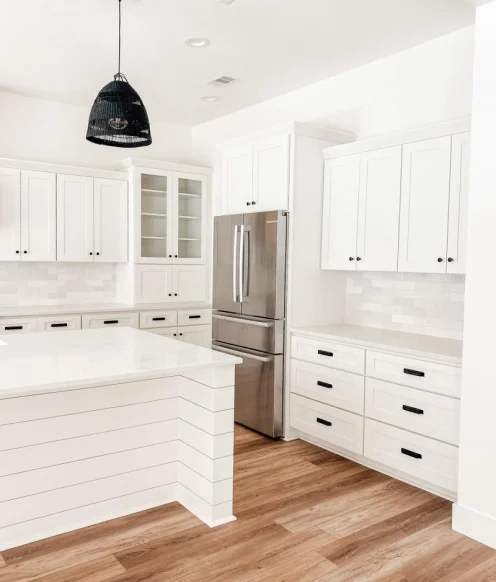
The first step when you decide to take the plunge and go from dreaming about a kitchen renovation to actually diving in and finding out what it would really take, is to design the layout. Of course, you probably have some ideas of what you’d like, whether inspired by a magazine or website, a TV show, or even just a friend or relative’s house, but the kind of DIY kitchen layout we mean is more precise and specific, and lays the foundation for finalizing the details and actually ordering the materials.
Tips and Pitfalls
Whether you’re using the old-fashioned method of graph paper and pencil, or the easier method we’ll show you in just a bit, there are a few things to keep in mind overall, that will make your design work easier and also make sure you are able to enjoy the finished product once you put your plans into motion.
Immovable Objects
Plumbing lines, high-voltage electric outlets, and gas lines are things you can’t move, or can’t move much. That means certain fixtures are where they are, even if you upgrade them.
- Fridges – Typically have the most leeway. Most refrigerators in the US use standard 120-volt power supplies, so in theory any plug could work. They do, however, draw a lot of power, 700 watts or more in full swing, so if you’ll be moving it to a different outlet (i.e. more than a foot or two from where it is right now), you’ll need to make sure that outlet’s breaker can handle it.
- Stoves – Not much wiggle room, just however long the cord or gas line is. Keep in mind, you want to be able to pull it out without ripping the connections out of the wall, so going too far to the side isn’t a great idea. We recommend putting the stove placeholder where it is, and leaving it there, barring a few inches of play to make things fit.
- Dishwashers – These tend to have more play than you’d think, with flexible drainage and fill lines, though still not more than a foot or two.
- Sinks – Another fixture, unless you intend to do a fair bit of plumbing. If you don’t intend to open up floors or walls, a foot or two is all you have to work with.
Walkway Clearance
You need to be able to walk through your kitchen reasonably well, even when all kitchen cabinet and appliance doors are open. This means 24” of clearance in front of base cabinets and 30” in front of most appliances. You should also double-check to be sure you aren’t relying on a cabinet door opening into the same space as an oven or dishwasher door, as that isn’t likely to work out all that well.
Better than Graph Paper
Bearing these things in mind, we invite you to upgrade your DIY kitchen layout adventure from graph paper to something a little easier to use and more sophisticated. Come try out our free online DIY kitchen design tool. It uses a convenient drag-and-drop interface, with a look and feel a lot like graph paper, only every appliance and cabinet size is already perfectly scaled and measured for you. You just drag and drop them where you want them. You can move them around, save your work and come back later, and even track everything you’ve placed to make filling your shopping cart a breeze. Sign up today by clicking here.


